Mosaic lamps are a captivating blend of art and functionality, offering a unique aesthetic appeal that can enhance any space. These intricate pieces not only serve as sources of light but also as focal points that reflect personal style and creativity. Designing and creating your own mosaic lamp can be a rewarding experience, allowing you to express individuality while mastering a new craft. This article will guide you through the process, providing insights into the materials, techniques, and creative possibilities.
Understanding the Basics of Mosaic Lamps
Mosaic lamps are crafted by assembling small pieces of colored glass, tiles, or stones onto a surface, creating a pattern that transforms light into a vibrant display of colors. The art of mosaic has ancient origins and has been used in various cultures to decorate walls, floors, and everyday objects. In the context of lamps, mosaics provide a dynamic interplay of light and color, enhancing the ambiance of any room.
Materials Required
To embark on your mosaic lamp project, you will need the following materials:
- Glass pieces or mosaic tiles in various colors.
- Adhesive suitable for glass or ceramic surfaces.
- Grout to fill the gaps between the tiles.
- A lamp base or frame to apply your mosaic.
- Protective gear such as gloves and goggles.
Each material plays a crucial role in the creation process. For example, the choice of glass or tile colors will significantly influence the overall aesthetic of your lamp. You can explore further insights here on how to select the right materials for your project.
Steps to Create Your Mosaic Lamp
Creating a mosaic lamp involves several methodical steps, each requiring attention to detail and creativity.
Designing Your Pattern
Begin by sketching your design on paper. Consider the theme, colors, and style you wish to achieve. A well-thought-out design is crucial as it will guide the placement of each piece. You can learn more in this detailed guide about popular design patterns and ideas for mosaic lamps.
Applying the Mosaic
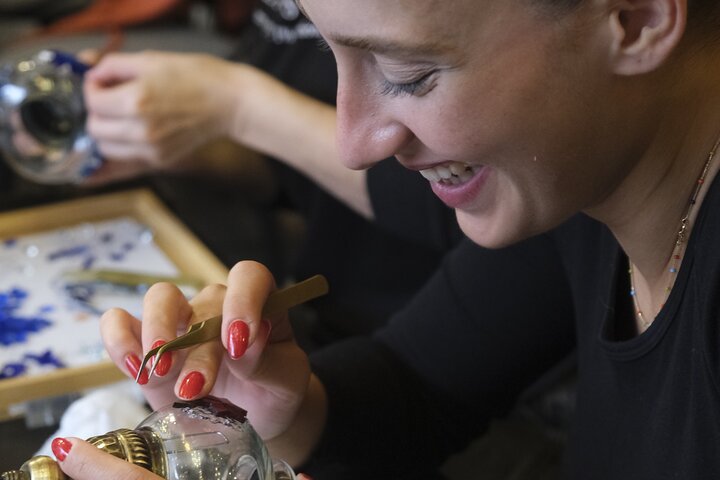
Once the design is finalized, proceed to apply the adhesive on the lamp base and start placing the glass pieces or tiles according to your pattern. Ensure each piece is securely attached and aligned with your design. Patience and precision are key during this step.
Grouting the Surface
After the adhesive has set, it’s time to apply the grout. Grouting fills the spaces between the tiles and provides a smooth finish. Carefully spread the grout over the surface, ensuring even coverage, and wipe away excess grout with a damp sponge.
Final Touches and Maintenance
Once the grout has dried, clean the surface to remove any haze. A soft cloth is ideal for this task. Regular maintenance involves gentle cleaning to preserve the vibrancy of the glass and the integrity of the grout.
Mosaic lamps are not only beautiful but also durable when properly maintained. For more tips on maintaining your mosaic lamp, find additional information here.
Conclusion
Designing and creating your own mosaic lamp is an enriching endeavor that combines artistic expression with practical craftsmanship. Whether you’re aiming to craft a statement piece for your home or seeking a rewarding hobby, mosaic lamp-making offers endless possibilities. Take the time to explore materials, design patterns, and techniques to enhance your skills and create a masterpiece that reflects your personal style. Read more about this topic to gain further insights into the world of mosaic artistry.