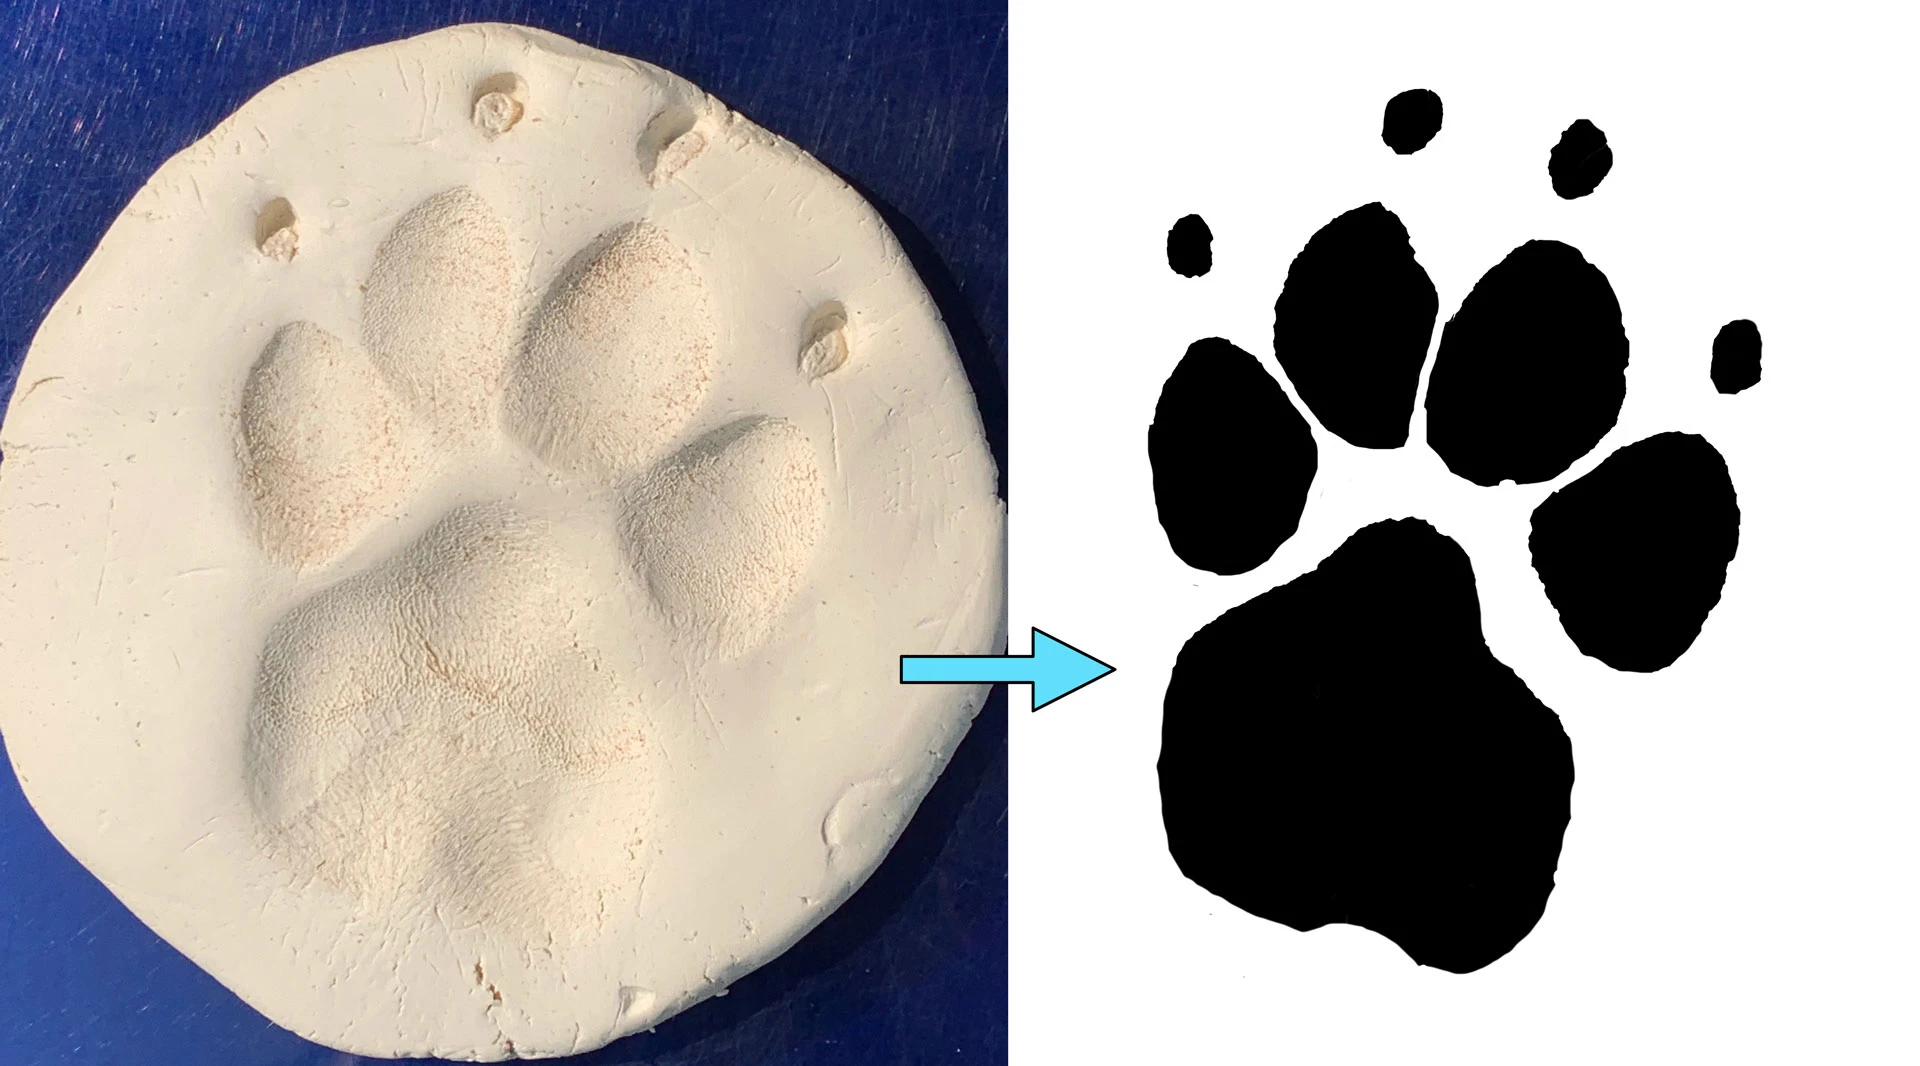
Creating a foam impression paw print is a meaningful way to capture the unique characteristics of a beloved pet’s paw. This craft can serve as a cherished keepsake or a thoughtful gift. Whether you’re a pet owner looking to preserve a memory or a professional seeking to enhance the services offered to clients, understanding the step-by-step process to make a foam impression paw print is essential. With the right materials and guidance, this project can be completed with ease.
Materials Needed for a Foam Impression Paw Print
Before starting, gather all necessary materials to ensure a smooth process. The items required include:
- Foam or clay designed for impression making
- A rolling pin or similar tool
- Parchment paper or a non-stick surface
- A clean cloth to wipe the pet’s paw
- Optional: Paint or markers for decoration
These materials are easily accessible at craft stores or through online retailers. Ensure that the foam or clay is non-toxic and safe for pets.
Step-by-Step Guide to Creating the Impression
Step 1: Prepare the Workspace
Start by covering the workspace with parchment paper or a non-stick surface to prevent the foam from sticking. This will also make the cleanup process easier.
Step 2: Prepare the Foam
Take the foam or clay and knead it until it becomes soft and pliable. Use a rolling pin to flatten it into a disc shape, ensuring that it is thick enough to capture the details of the paw print.
Step 3: Clean the Pet’s Paw
Gently clean the pet’s paw using a damp cloth to remove any dirt or debris. This step is crucial for getting a clear and detailed impression.
Step 4: Make the Impression
Carefully press the pet’s paw into the center of the foam. Apply even pressure to capture all the unique features of the paw. Gently lift the paw to reveal the impression.
Step 5: Allow to Set
Let the foam dry according to the manufacturer’s instructions. This process can vary, so refer to specific guidelines for best results. Explore advanced guides and tips on setting times and materials.
Decorating and Preserving the Paw Print
Once the foam impression is set, the decoration phase can begin. Consider the following ideas:
- Use paint or markers to color the impression.
- Write the pet’s name and the date on the foam.
- Add embellishments such as ribbons or small trinkets.
Decorating is optional but adds a personal touch to the keepsake. Dry thoroughly after decoration to ensure longevity.
Alternative Methods and Considerations
While foam is a popular choice, other materials such as clay or plaster can also be used for making paw impressions. Each material has its unique properties and finishing techniques. For professionals seeking to offer digital solutions, find out more about this approach and explore how digital paw prints can complement traditional methods.
Tips for a Successful Impression
To achieve the best results, consider these tips:
- Ensure the pet is calm and relaxed during the process.
- Practice on a small piece of foam if unfamiliar with the technique.
- Be patient and gentle, especially with anxious pets.
By following these guidelines, creating a successful foam impression paw print can be a rewarding experience. For further guidance and expert strategies, discover expert strategies here.