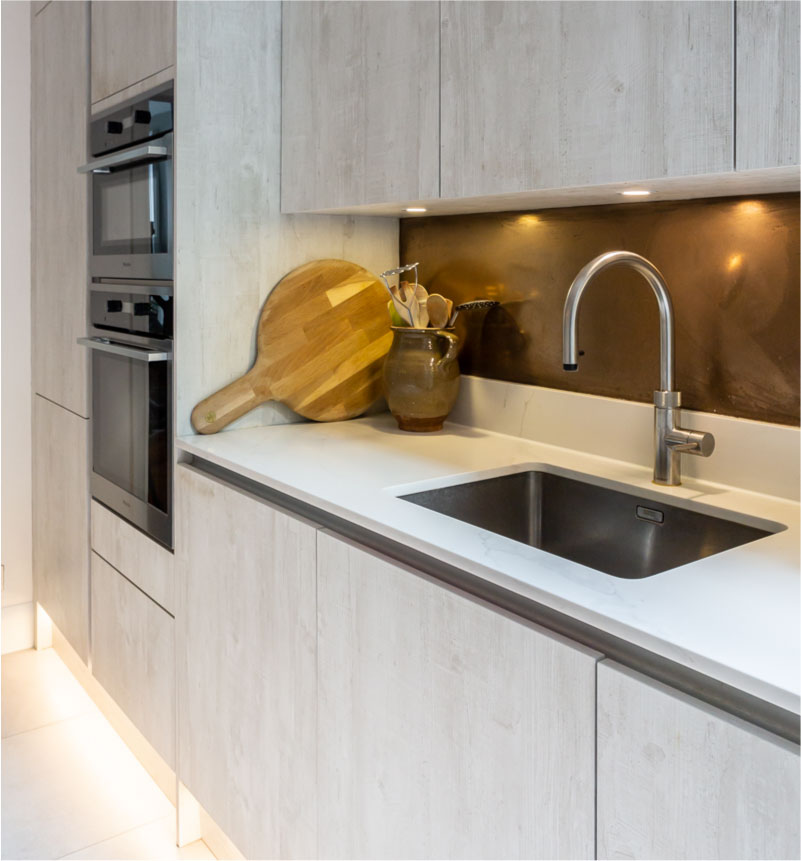
Vinyl plank tile installation is an excellent choice for those looking to combine durability with aesthetic appeal. Whether you’re revamping your kitchen, bathroom, or any living space, vinyl planks offer a versatile and cost-effective flooring solution. This guide will walk you through the essential steps and considerations to ensure a successful installation, helping you achieve a professional finish that enhances the beauty of your home.
Choosing the Right Vinyl Plank Tiles
Before you begin the installation process, selecting the appropriate type of vinyl plank tile is crucial. Consider the following factors:
- Thickness: Thicker planks provide better soundproofing and feel more substantial underfoot.
- Wear Layer: Choose a wear layer that suits the traffic level of the area. For high-traffic areas, a thicker wear layer is recommended.
- Design: Vinyl planks are available in a wide variety of colors and patterns. Select a design that complements your interior d?cor.
- Water Resistance: For areas prone to moisture, such as bathrooms and kitchens, opt for waterproof or water-resistant vinyl.
Discover expert strategies here to choose the best vinyl planks for your home renovation project.
Preparing the Subfloor
A well-prepared subfloor is essential to the success of your vinyl plank installation. Follow these steps to ensure a smooth surface:
- Clean the Surface: Remove any debris, dust, or adhesive residues from the subfloor.
- Level the Subfloor: Ensure the subfloor is level, filling any cracks or holes with a suitable compound.
- Moisture Barrier: In areas with high moisture levels, use a moisture barrier to protect the flooring.
For a detailed guide on subfloor preparation, learn about our tailored solutions.
Installation Process
Acclimation
Before installation, allow the vinyl planks to acclimate to the room’s temperature and humidity for at least 48 hours. This step is critical to prevent expansion or contraction after installation.
Laying the Planks
- Plan the Layout: Start by laying the planks in a dry run to determine the best layout, ensuring minimal waste and a balanced appearance.
- Cutting the Planks: Use a utility knife or vinyl cutter to trim the planks to fit around edges and corners.
- Stagger the Joints: For a natural look, stagger the joints by at least six inches between adjacent rows.
- Install the Planks: Begin installation along the longest wall, using the tongue-and-groove mechanism to join the planks securely.
Explore advanced guides and tips on the installation process here.
Finishing Touches
Once the vinyl planks are installed, complete the project with these finishing touches:
- Trim and Moldings: Install baseboards and transition strips to cover expansion gaps and create a polished look.
- Cleaning: Clean the floor with a vinyl-safe cleaner to remove any installation residues.
Find out more about this approach to ensure your floor remains in pristine condition by visiting this comprehensive guide.
Maintenance Tips
Maintaining your vinyl plank tile floor is essential for longevity and appearance. Here are some tips:
- Regular Cleaning: Sweep or vacuum regularly to prevent dirt accumulation.
- Avoid Harsh Cleaners: Use only vinyl-safe cleaning products to avoid damage.
- Protect from Furniture: Use furniture pads to prevent scratches and indentations.
For more tips on maintaining vinyl flooring, explore advanced guides and tips.
Vinyl plank tile installation can transform any space into a stylish, functional area. By following this guide, you can confidently tackle your flooring project, ensuring a professional and long-lasting finish.